
客户端服务器也是CentOS6,IP:192.168.42.101
安装官方repo
rpm -ivh http://repo.zabbix.com/zabbix/3.2/rhel/6/x86_64/zabbix-release-3.2-1.el6.noarch.rpm
安装agent
[root@template ~]# yum install zabbix-agent -y
编辑下配置文件:
[root@template ~]# vim /etc/zabbix/zabbix_agentd.conf
把如下配置更改下:
Server=192.168.42.15
ServerActive=192.168.42.15
Hostname=Zabbix agent
防火墙放行下端口:
[root@template ~]# iptables -I INPUT -p tcp --dport 10050 -j ACCEPT
[root@template ~]# service iptables save
iptables: Saving firewall rules to /etc/sysconfig/iptables:[  OK  ]
[root@template ~]# service iptables restart
启动agent服务,并加入开机启动
[root@template ~]# service zabbix-agent start
Starting Zabbix agent:                                     [  OK  ]
[root@template ~]# chkconfig zabbix-agent on
添加监控项目:
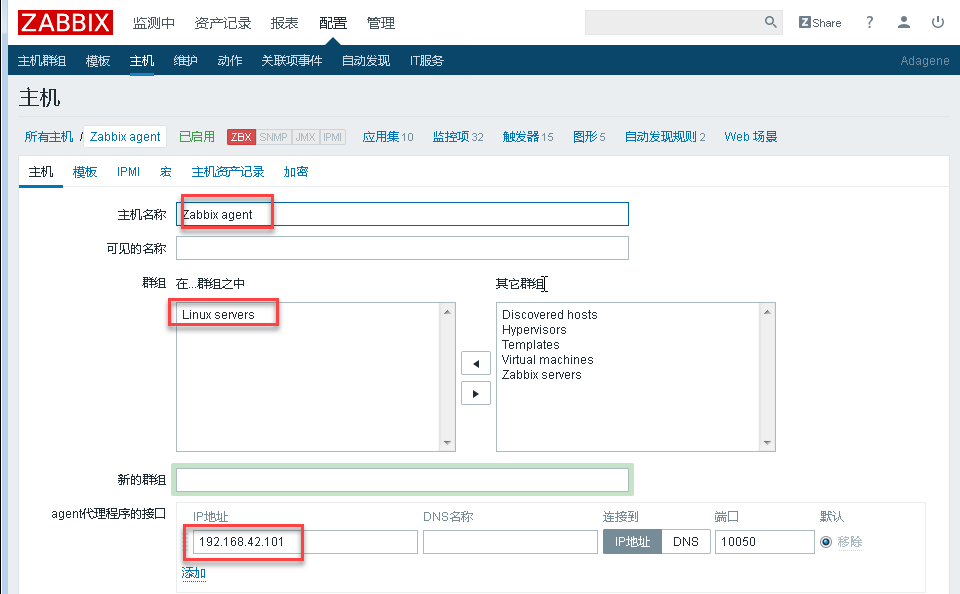
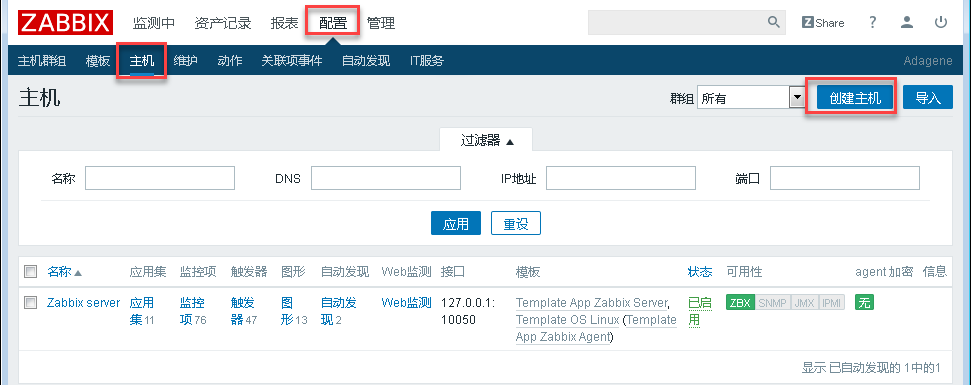 填写相应的内容:
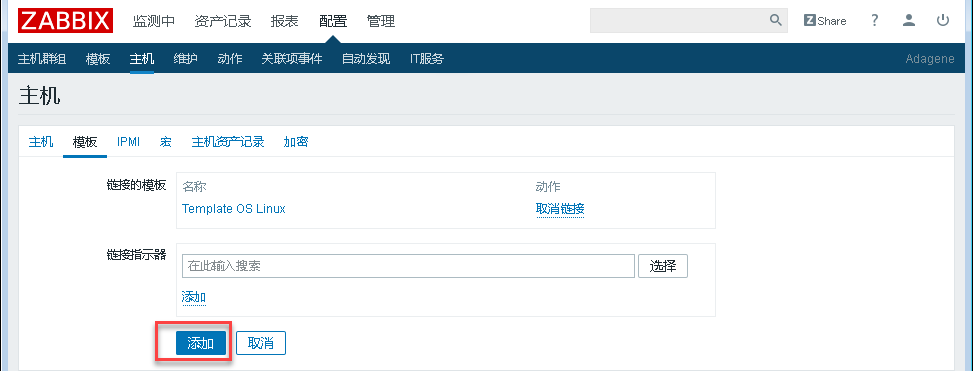
 添加个模板:
 到此,对应的服务器已经添加到我们搭建的zabbix server中去了。
可以看到相应的图形数据:
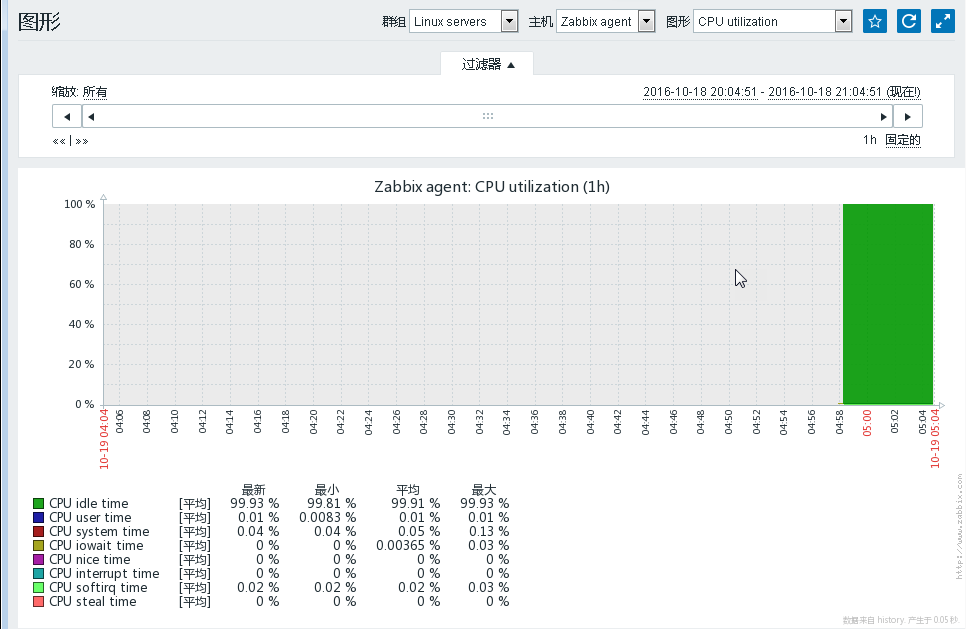 (完)
(完)
CentOS6安装nginx,php7,zabbix3.2教程(3)